The Reminders app is an app with a simple purpose: to remind you give your dog a pill at dinner, or to call your grandma at a specific time each week. The app has been on your iPhone, iPad and Mac for years and years even if you haven’t used it, but you might want to start.
Apple has given the Reminders app a big overhaul in recent years, adding new features, updating its design and giving it Siri integration. It also seamlessly syncs across all your Apple devices, too, make it a really powerful productivity tool. Plus, unlike a lot of other “to-do list” apps, the Reminders app doesn’t require a fee to get the most out of it.
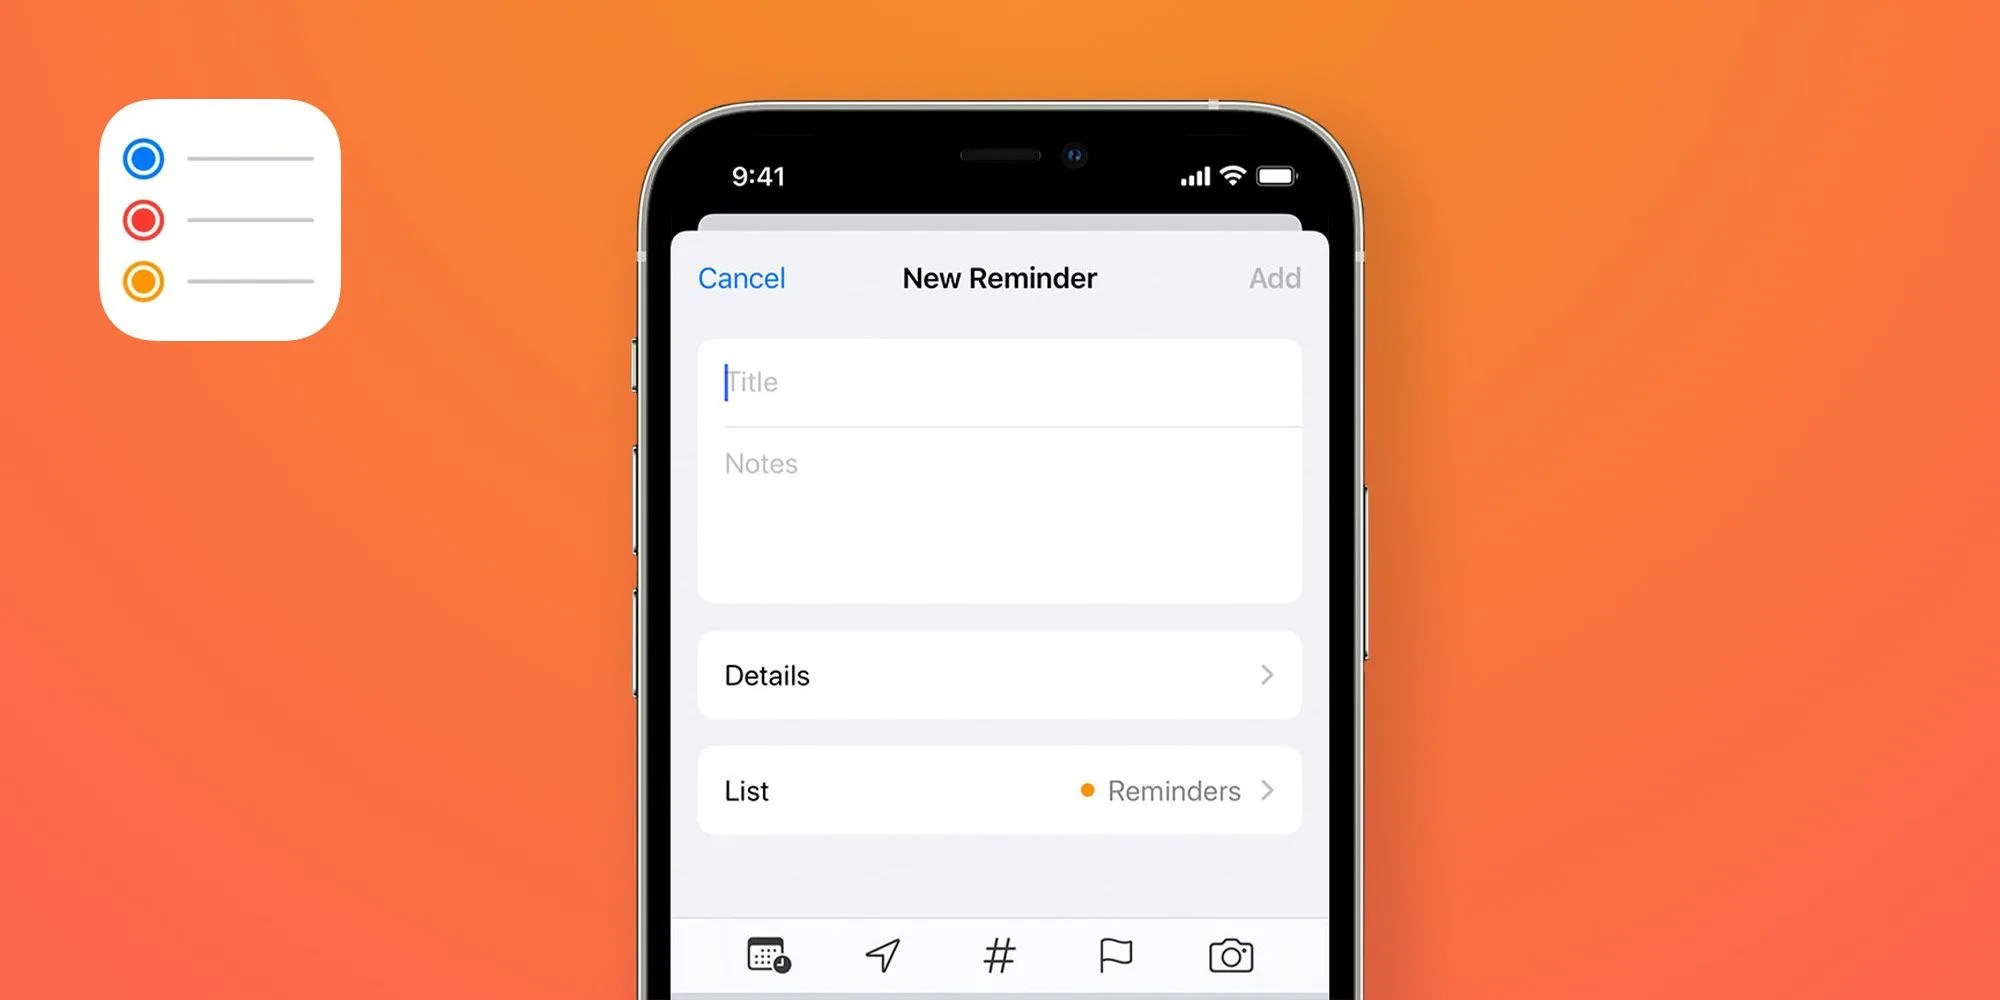
If you haven’t used the Reminders app, the first thing you need to know is how to create a reminder — it’s simple. Just open the app, select the “+ New Reminder” in the bottom-left corner and fill out the reminder form. After that, you just schedule when (and how often) you want to be alerted of the reminder. And that’s it. The app will send you a push notification at the time of the reminder.
But that’s just the bare minimum, as the Reminders app can be a robust and useful tool. You mark some reminders as extra important (with a flag), add photos to specific reminders to give them extra context, and even add hyperlinks to a specific website or an app so, once you get reminded, you can get whatever you need to get done fast.
How to make a list
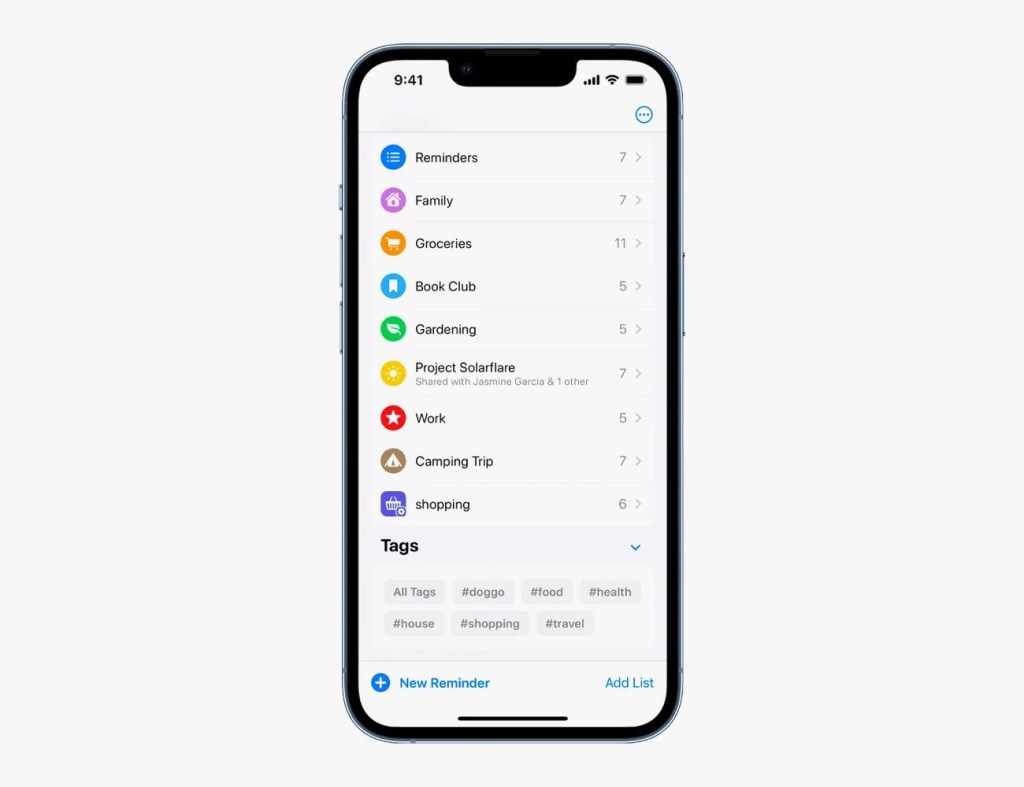
The Reminders app is organized by lists. Whenever you create a reminder, that reminder gets populated into your default list, either titled “Reminders” or “My Day.” But you can create multiple lists for your various activities — “Planning Grandpa’s Birthday” or “School work” — and then populate those lists with reminders to getting that activity done. It’s a neat and simple way of organizing all the like-minded reminders together.
To make a list:
- Open the Reminders app.
- Select the “Add List” icon in the bottom-right corner.
- Name it.
That’s it.
You can also easily change the default list in your Reminders app:
- Open the Settings app.
- Select Reminders.
- Select Default List.
- Check whichever list you want to make your new default.
How to create a Smart List
 Apple
AppleA Smart List is a new feature that came with iOS 15 (and iPadOS 15). It’s essentially a list that takes all your reminders from within all your different lists and then, given the custom parameters that you set, it automatically groups those reminders together into one “smart” list. It’s called a “smart” list because it groups all old and future reminders that fit those custom parameters automatically. For example, you can create a Smart List of all your reminders that are due within a specific time range, or that are overdue or that are based on a location — and afterwards they’ll populate that specific Smart List.
To create a Smart List:
- Open the Reminders app.
- Select the “Add List” icon in the bottom-right corner.
- Name it.
- Select “Make into Smart List.”
You can then select the parameters of the list, be it a time or date range, a various location or a specific tag (see below).
Organize your reminders with Tags in the iPhone Reminder app
 Apple
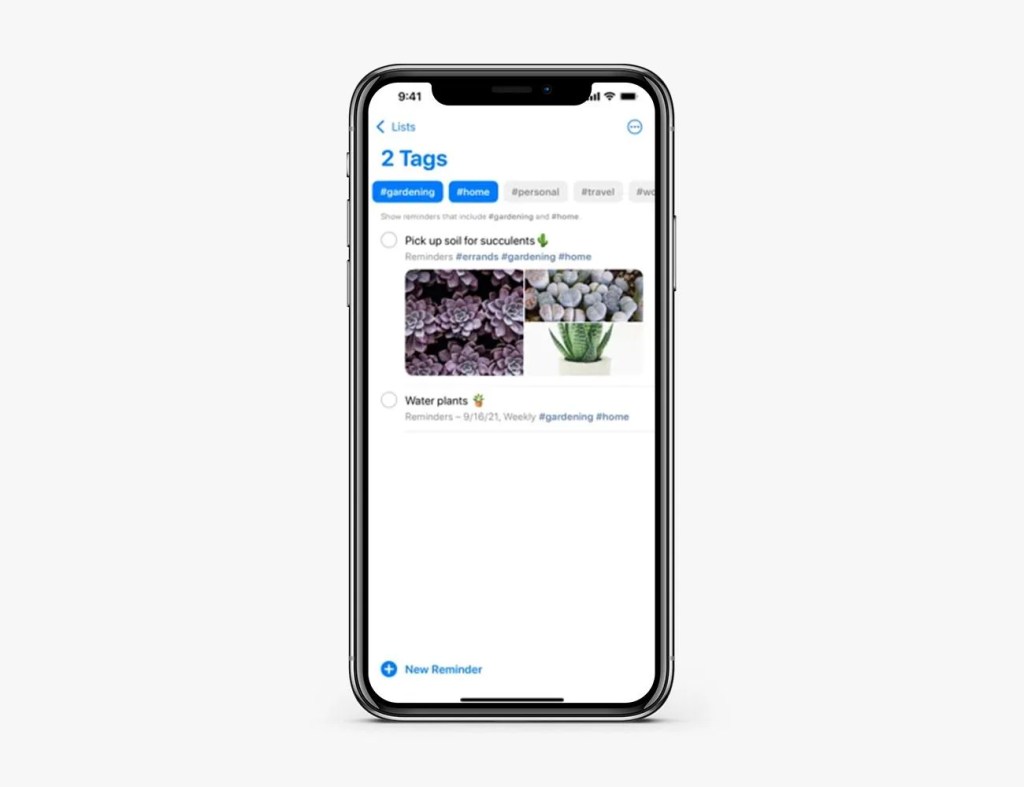
AppleIf you’re somebody who with a lot of different reminders, it might become difficult keeping track of them all. That’s exactly why Apple brought its tagging system over to the Reminders app. Just like the Notes app, you can add hashtag to any reminder (in its description or title) and that reminder will automatically be grouped with all the other reminders that have the same hashtag. (You can also add a tag to any reminder by selecting the Tag (#) button when creating or editing a reminder.)
For example, you can have add the #Errands to a number of different reminders — like for picking up the kids, going to the cleaners and mailing a package at the post office — and they’ll all appear in the same Errands tag.
How to use subtasks
 Apple
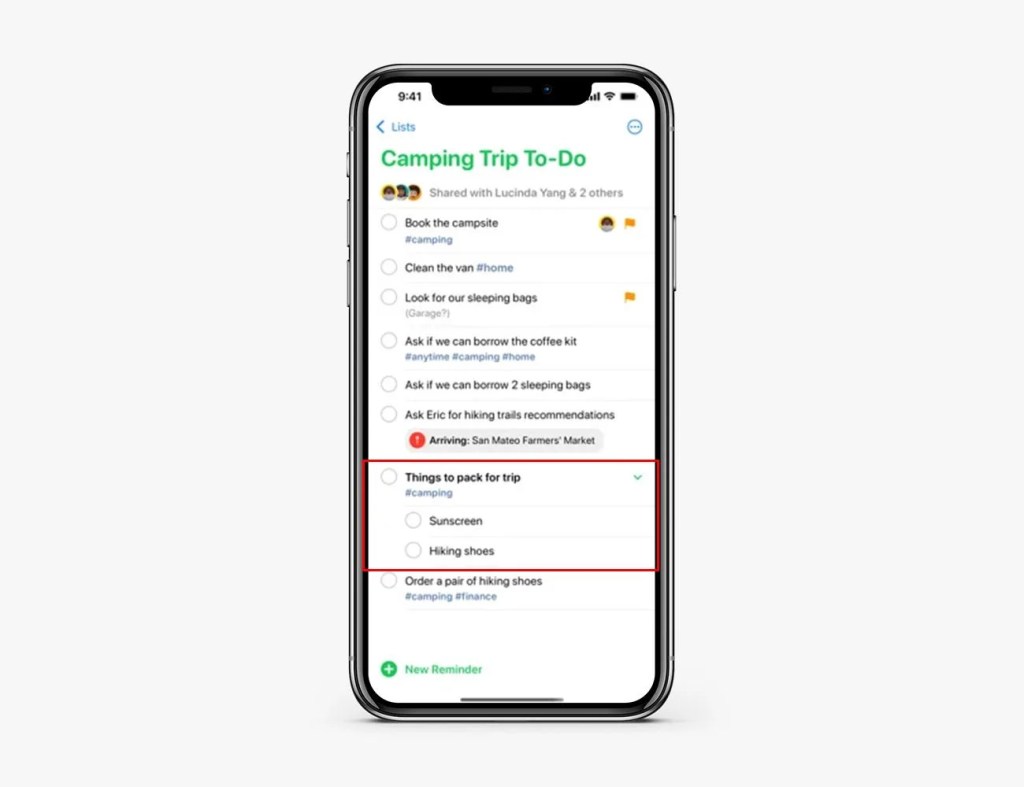
AppleEvery want to make a reminder within a reminder? That’s what the Reminders app calls subtask. For example, you can turn reminder you have for “Bring ski helmet” into a subtask for the larger reminder of “Pack for ski trip.”
To do this, you can simply drag and drop the “Bring ski helmet” reminder into the “Pack for ski trip” reminder. Or you can swipe right on a reminder and it’ll become a subtask for the reminder above it. The Reminders app will then send you push notifications for the subtasks just like for regular reminders.
How to create Sections within Lists
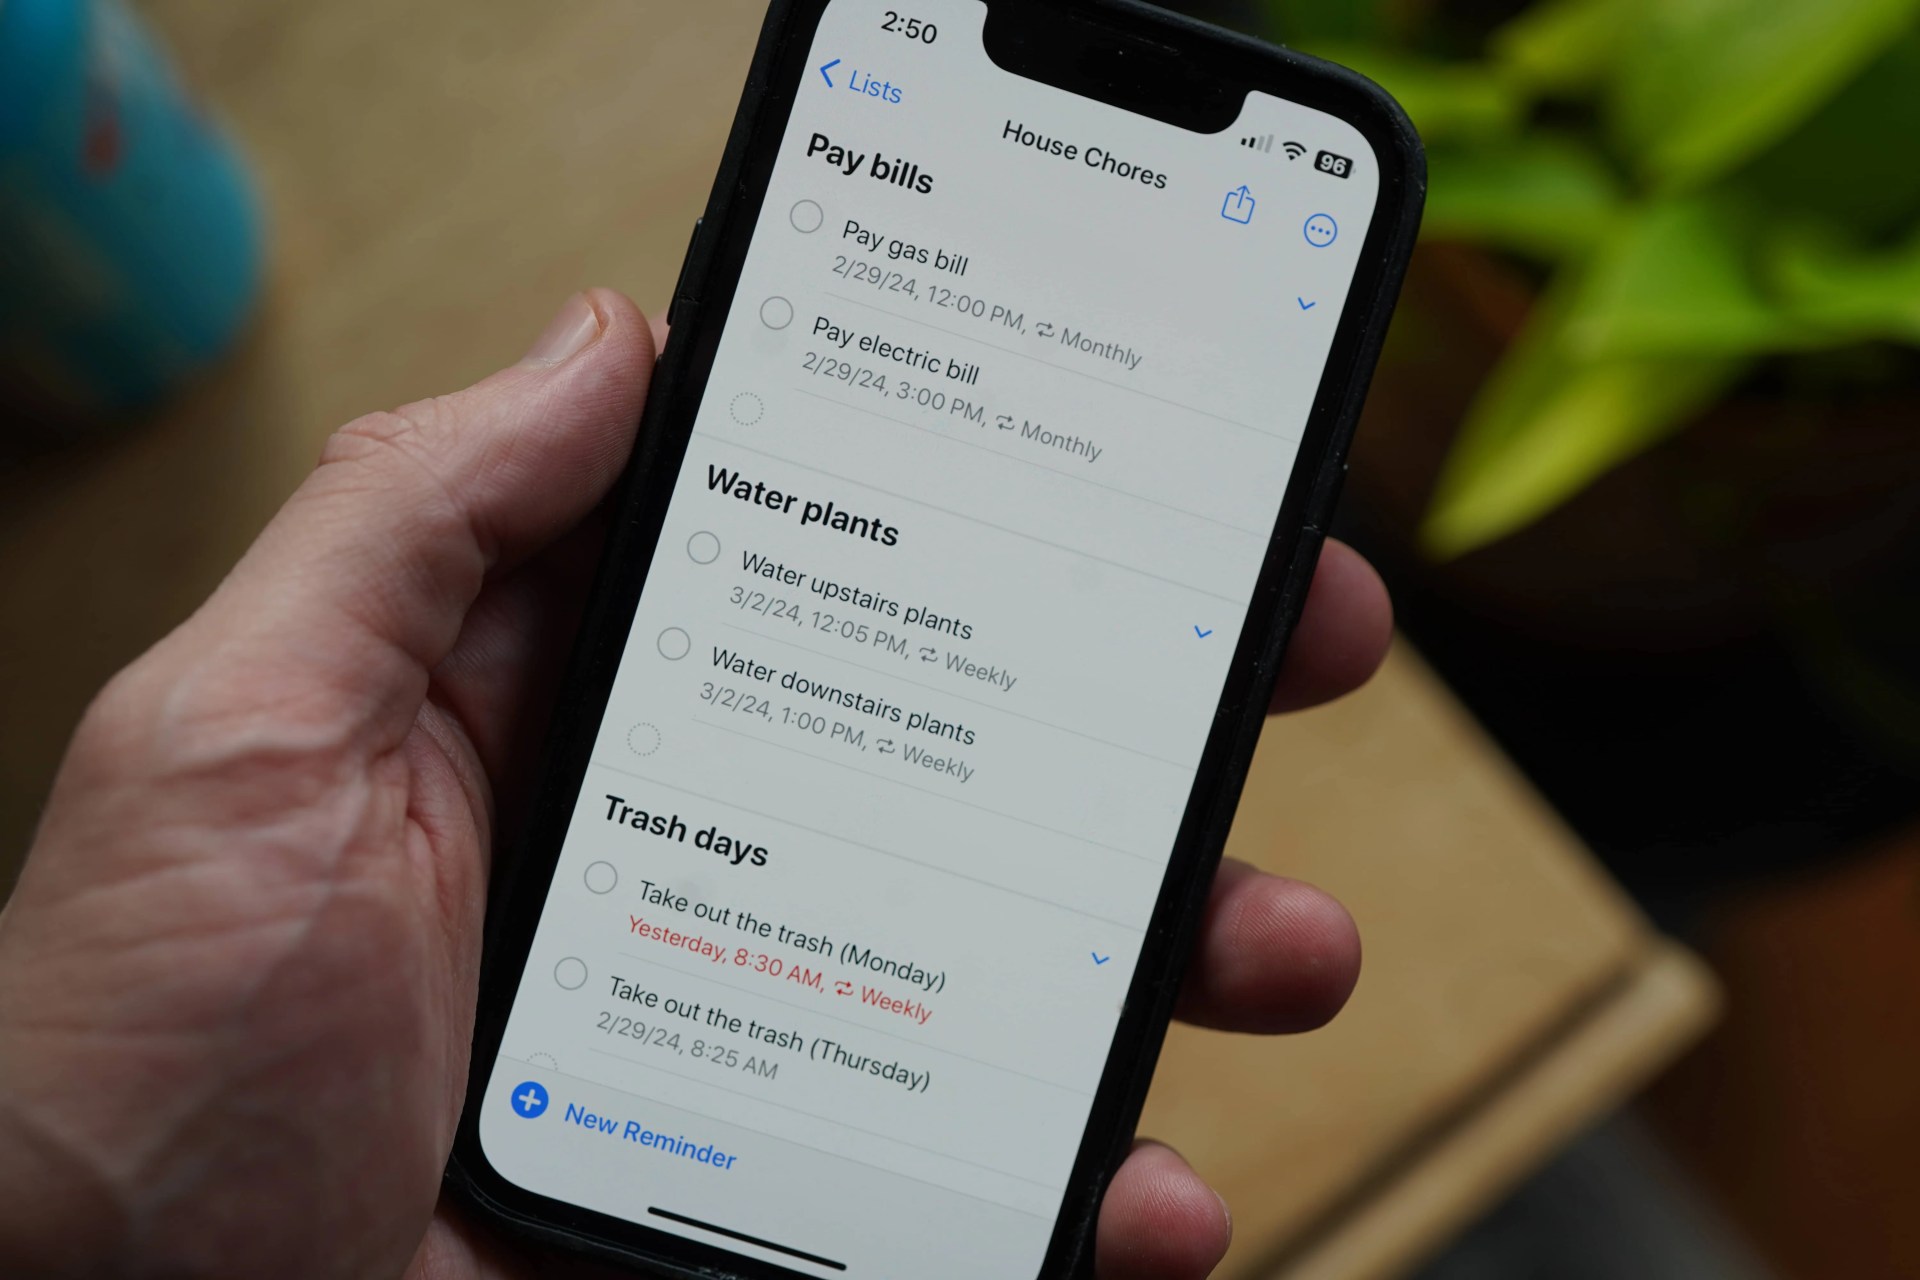
Another feature introduced in iOS 17: sections. You can create sections within lists to better keep track of related tasks and generally have the Reminders app be a little more organized.
Sections in the Reminders app are pretty dynamic, too. You can drag-and-drop certain tasks between sections. And you’re able expand or collapse individual sections to see more or less of your tasks.
To create a section:
If you already have a section within a certain list, you have to select “Manage Sections” and then select “New Section.”
- Select a list in the Reminders app.
- Select the ellipsis (three dots) in the top-right corner.
- Select “New Section.”
How to use Siri commands
 Courtesy
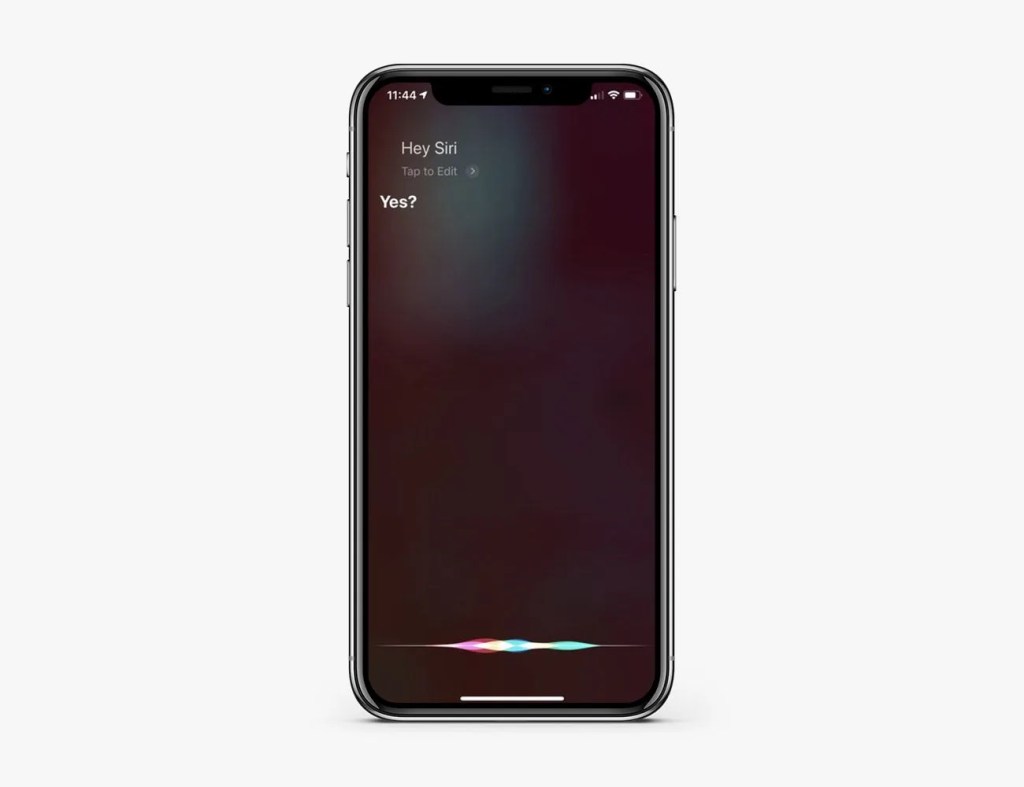
Apple has made “Hey Siri” voice commands work really with the Reminders app. All you have to do is give a Siri voice command, like “Hey Siri” remind me to call my dad at 7pm tonight.” Siri is also smart enough to understand reoccurring commands, like “Hey Siri, remind me to set my fantasy lineup every Saturday morning at 7:30am.” This isn’t super complicated stuff, but it works really well thanks to the latest software updates.
If you’re wearing AirPods (or Beats headphones with Apple’s W1 or H1 chips), you can also have Siri announced your reminders as they come up. To enable this feature:
- Open the Settings app.
- Scroll down and select the “Siri & Search” tab.
- Select “Announce Notifications.”
- Scroll down and make sure the Reminders tab is “On.”
How to set location-based reminders
 Apple
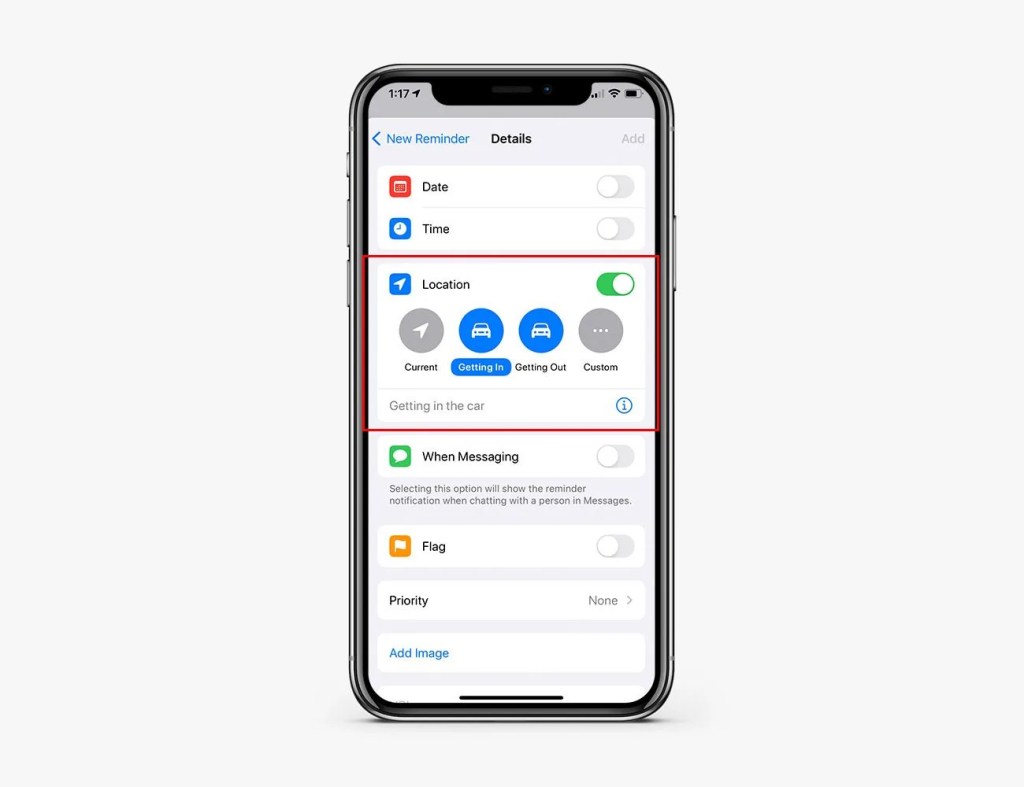
AppleThe Reminders app lets you set up location-based reminders that, as the name describes, will remind you of things based on your location. For instance, you can set a reminder to turn on the air condition when you arrive at work in the morning, or turn on the sprinklers when you arrive home in the evenings.
In order for these location-based reminders to work, you have to do two things. You have to allow you iPhone to know your location (Settings > Privacy > Location Services > On). And you have to add your home and work addresses (as well as any other addresses you want location-based reminders for) to your card in the Contacts app (My Card (under your name) > Edit (top-right corner) > scroll down to add address).
You can then set a location-based reminder for every time you get to a location. In the Reminders app, go to a certain task, select the “i” button next to it, select “Remind me at a location,” and then pick a location.
How to set reminders that use the Messages app in iOS
 Apple
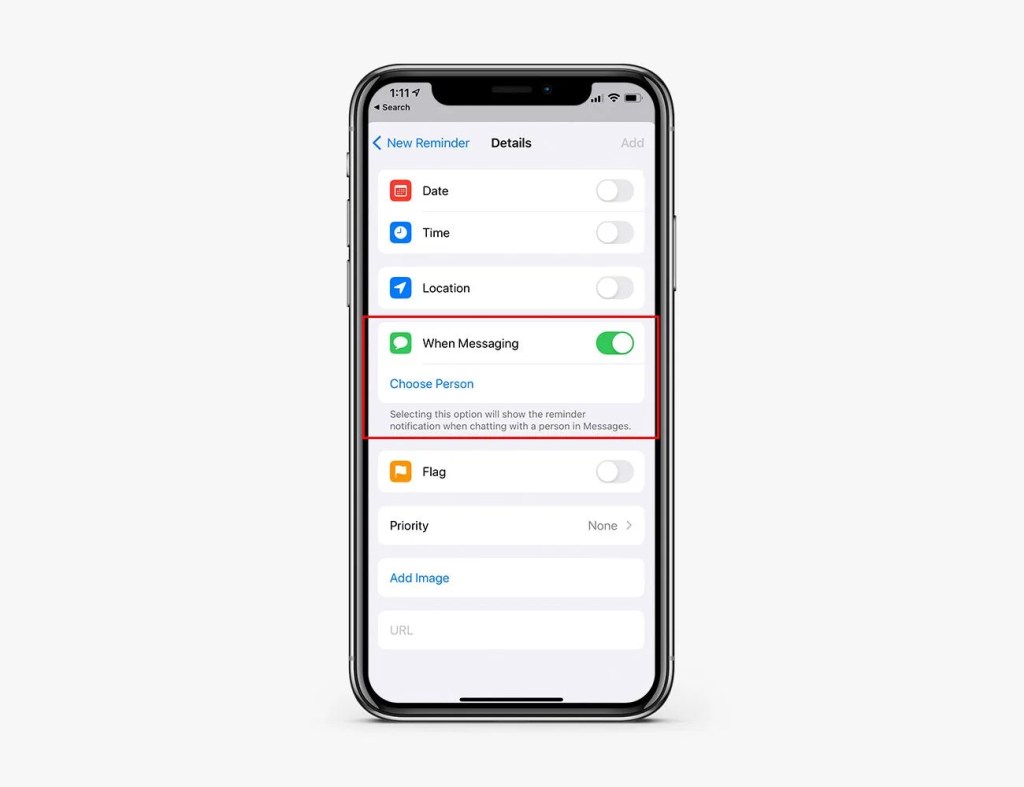
AppleOdds are you use the Messages app — aka iMessage — like a zillion times each day, and you can make the Reminders app work with it too. For example, you can set up a reminder that will send you a notification when messaging with a certain person in the Messages app; so every time you open a message with your Mom or Dad, you can have the Reminders app tell you to send a photo of your child (their grandchild).
To do this, open the Reminders app, go to a certain task that you want to be reminded of, select the “i” button next to it > select Remind me when messaging > and then pick the name of the contact.
How to view your “completed” reminders
 Apple
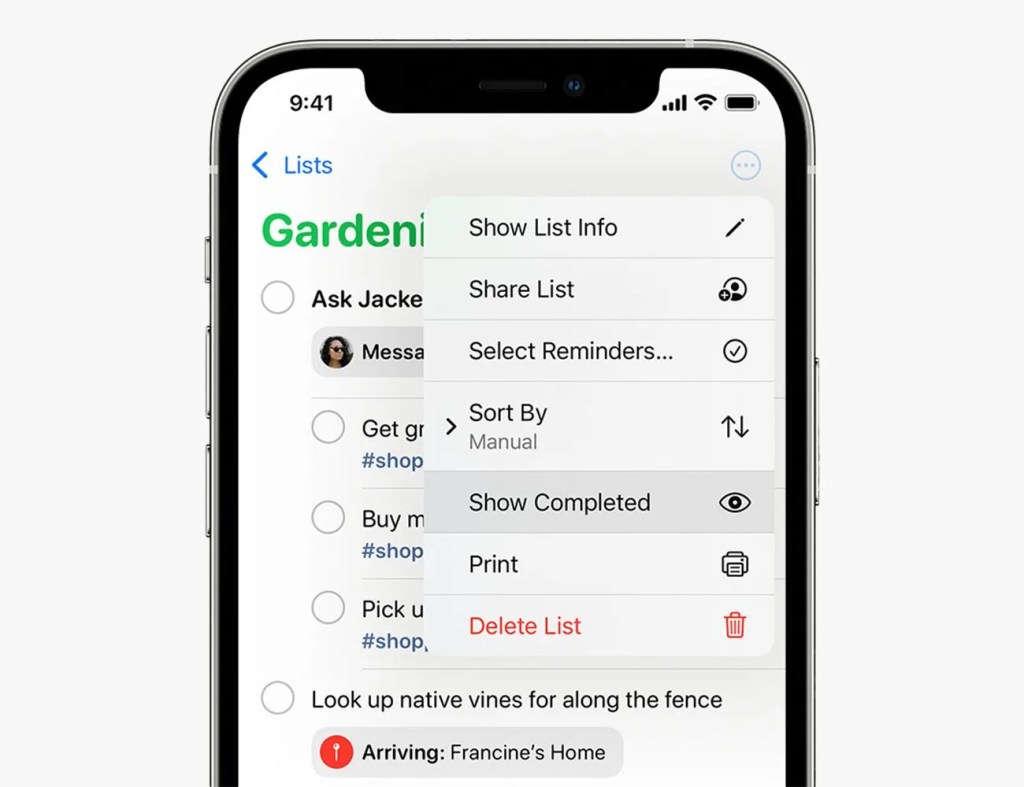
AppleThe Reminders app has a Completed section where you can see the tasks that you have completed, which you can find right in the main view of the Reminders app. The Completed section organizes your various completed tasks based on when they were completed: the previous day, week, month or year. This way you can see what you did in the past…which might be a good way to remind yourself of new tasks you might need to be complete again in the future.
If you want to see your completed tasks from a specific list, you can do that too. Simply open the specific list you want to check on, tap the More (three dots) button in the top-right corner and then select “Show Completed” from the drop-down menu.
How to set an Early Reminder
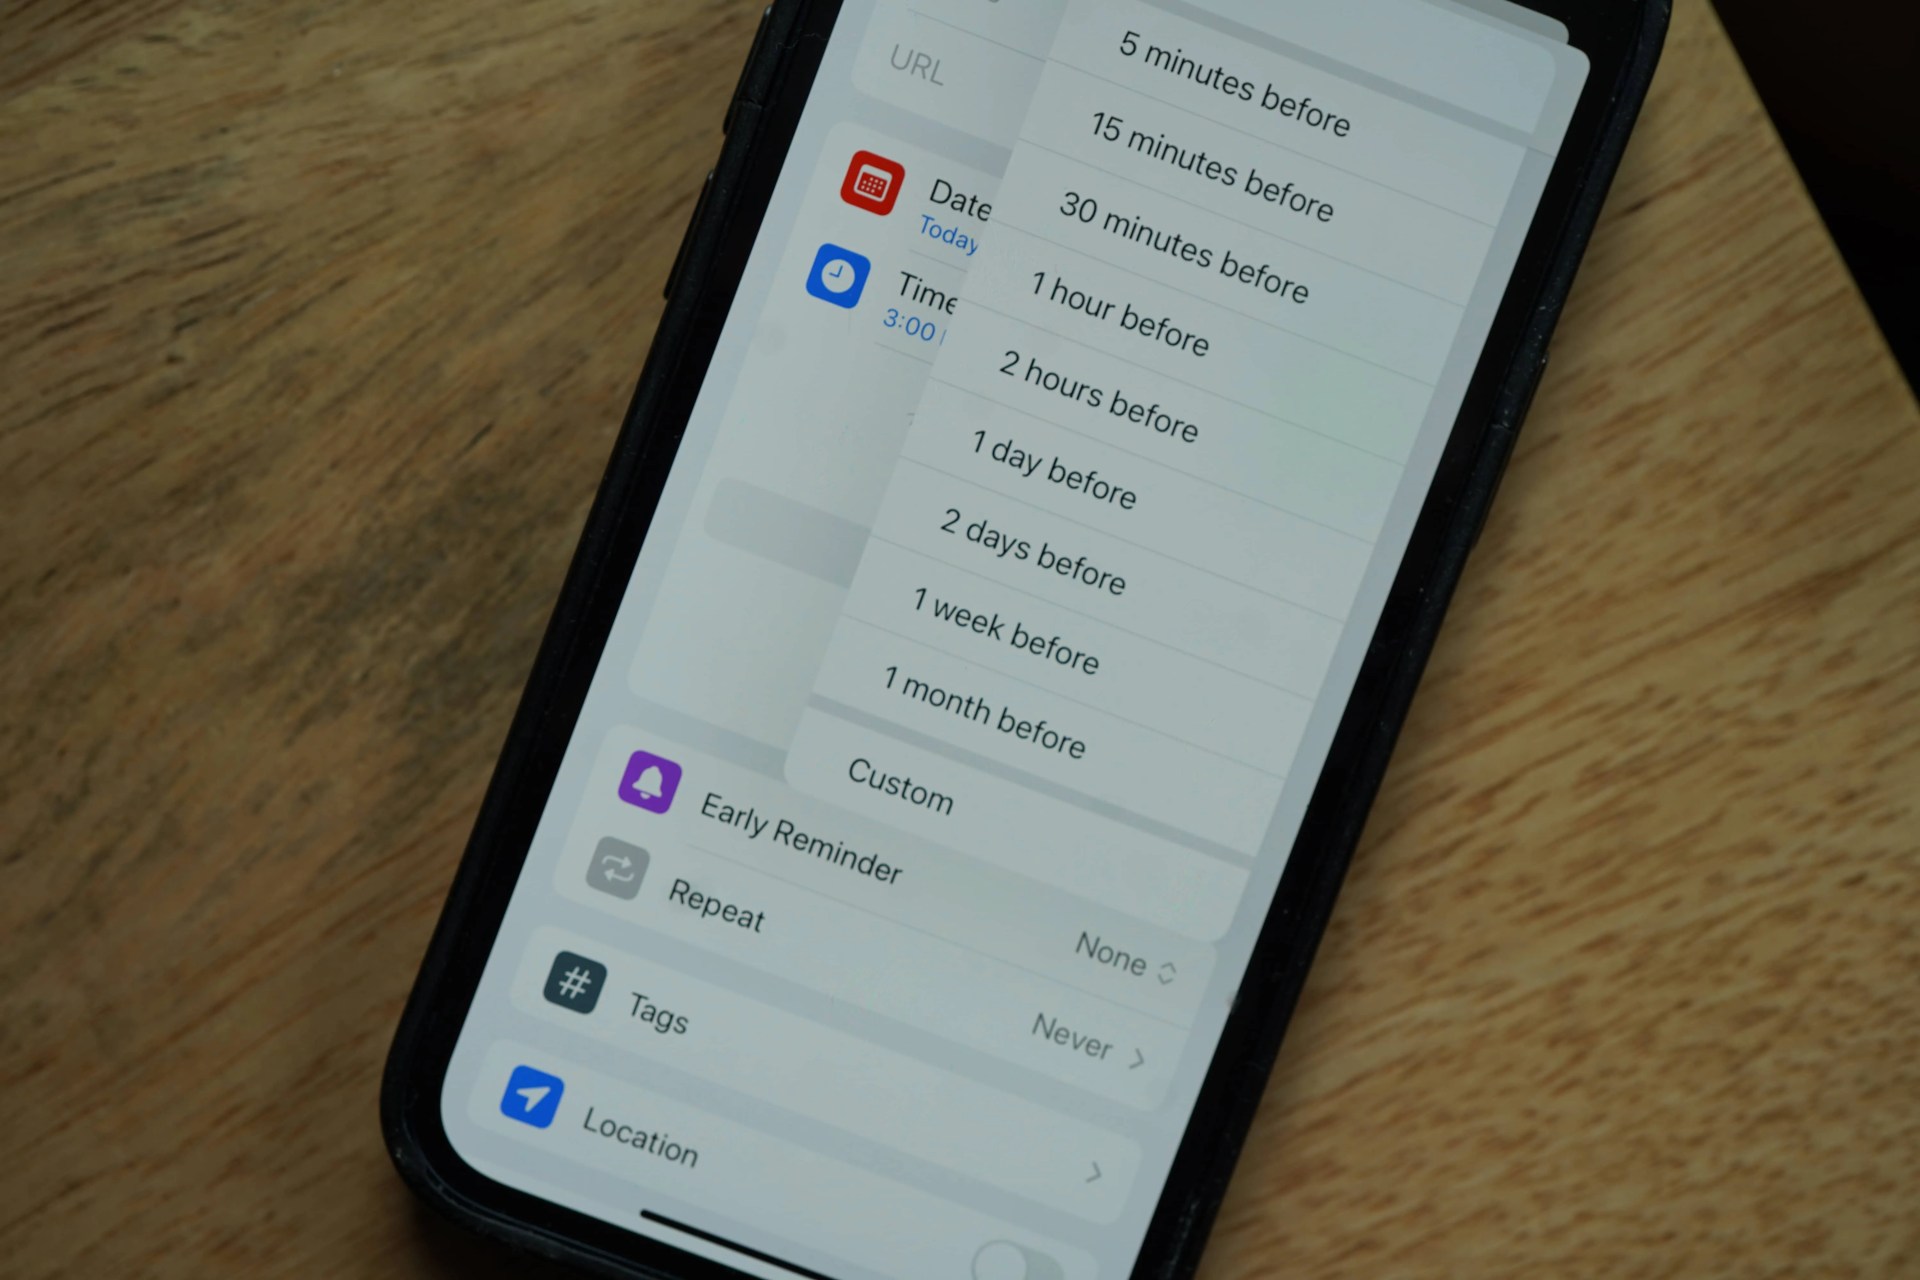
With iOS 17 — released in fall 2023 — you can now set an “Early Reminder” for specific tasks that you might need more time to prepare for. As long as the task has a due date or time, you’re able to set an Early Reminder notification. You can customize this Early Reminder to be set a few minutes, hours, days, weeks or a month before the given task.
(Note: If you don’t have a date or time associated with specific task, you won’t be able to set an Early Reminder.)
Here’s how to set an early reminder for a certain task.
- Open the Reminders app.
- Select the task you want to set up an Early Reminder for.
- Select the info (i) button next to the task name.
- Make sure a “Date” or “Time” is selected.
- Select “Early Reminder” and choose how far in advance you want an Early Reminder.
How to use create an interactive widget for the Reminders app
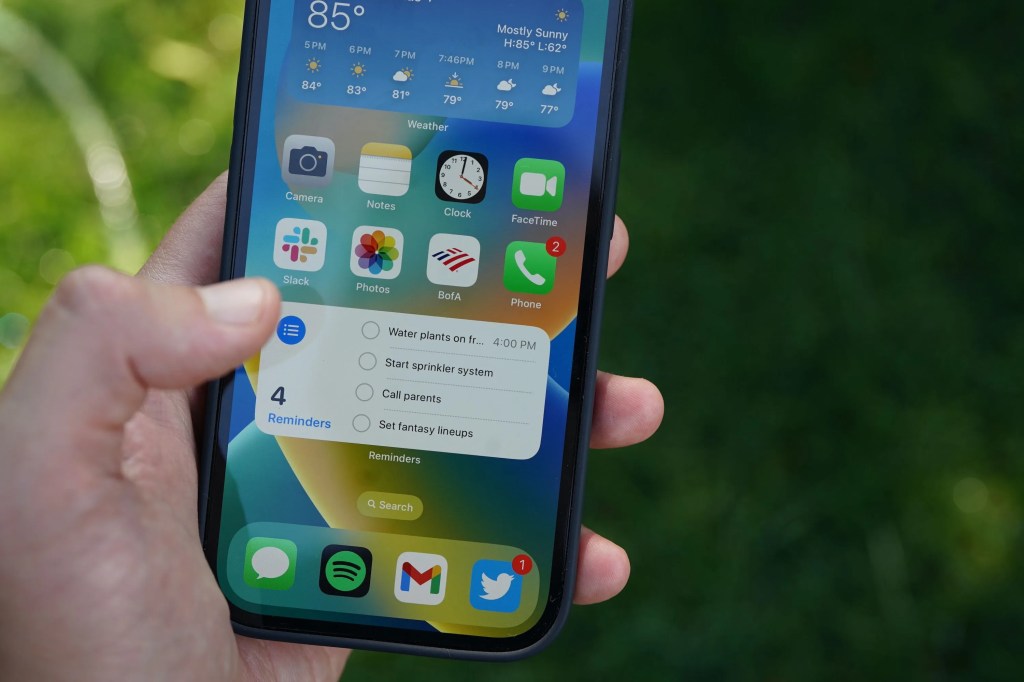
iOS 17 also introduced interactive widgets — this allows you to interact with certain widgets right from the Home screen without having to open the opening the app — and the Reminders app is supported. This way you can quickly check off tasks that you’ve completed right from the Home Screen.
- Unlock your iPhone.
- Tap and hold an empty area on your Home Screen until the apps jiggle.
- Select the Add button in the top-left corner.
- Search for and select the Reminders app.
- Choose a widget size you’d like.
- Select “Add Widget” and then “Done.”
